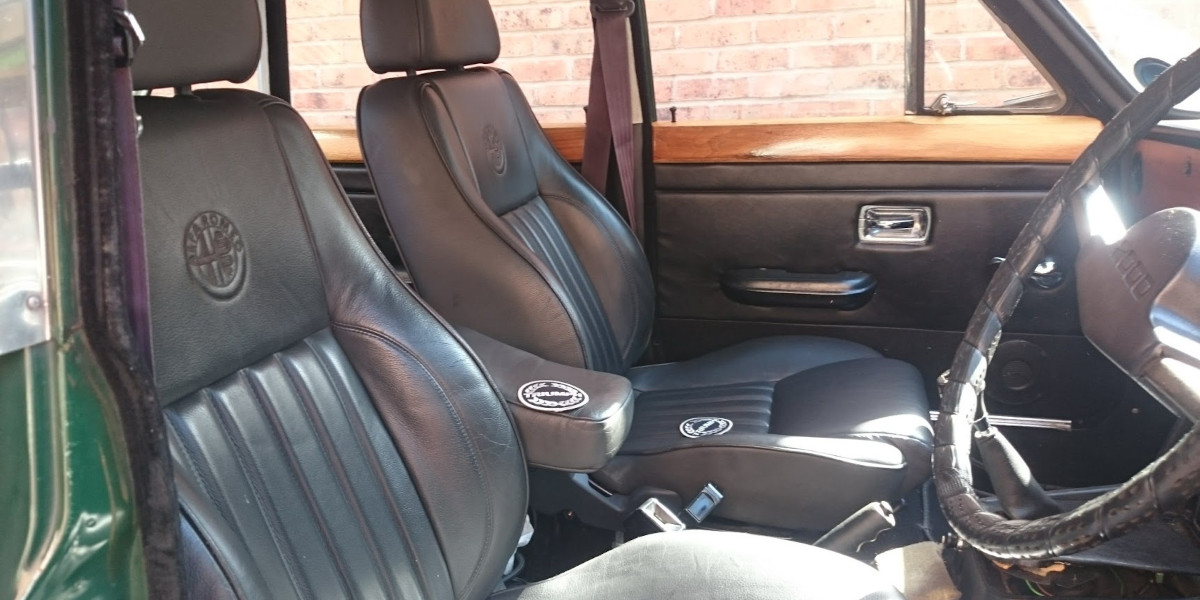
News seat - Part 2
As mentioned in Part One. The rails of the Alfa Momo seats are 14.5″ apart whilst the Triumph rails are 15″ apart. Couple that with the bolt holes not lining up, seat modification is needed.
I have kept the front holes in the same position and simply widened them out to be 15″ apart and removed the captive nuts so that they don’t foul on our new nuts. As for the rear mounts, I have drilled a fresh new hole on both sides, 15″ apart and in the correct place for the Triumph rail threads. Now the seat drops onto the rail.
So far so good, but here comes hurdle number 2. The threads of the Triumph rails foul on the underside of the passenger seat due to the length. These could be cut but this wouldn’t solve all as the seats also sit too low and would foul on the floor.
I have seen this done by adding a stack of nuts but I don’t really like that approach so for the next part I used M8 threaded joiners to create spacers and washers before and after the seat and nylon nuts to secure.
These lifted the seats far enough that they no longer foul on the floor. It should be noted that the passenger seat has no plastic trim on the door side and the drivers side with the height adjustment fouls at its lower most but that’s mostly just trim which I may look to altering though I wont miss it anyway.
As it stands the seats are now fitted and secure, these runners still work and the drivers side has the height adjustment working also allowing for much more variety in driving position than offered by the triumph seat alone.
The final touches to finish the job nicely were to dye the seats black and apply the Triumph badges over the Alfa ones. To dye the seats I used a couple of tins of Rustoleum Fabric paint which has come out quite nicely.
n.b; The plan was to remove the covers and sew the Triumph badges on but I instead found a set of 159 leathers that I intend to fit and these seats have now been subsequently fitted to a friends 2000 instead.
n.b 2; I was never overly happy with the mounting of these seats and have since revised the design and fitted a set to a BELa using the new design. Details can be found here.